Meatless
From hearty vegetable mains, salads or sides our curated collection offers a range of recipes.
-
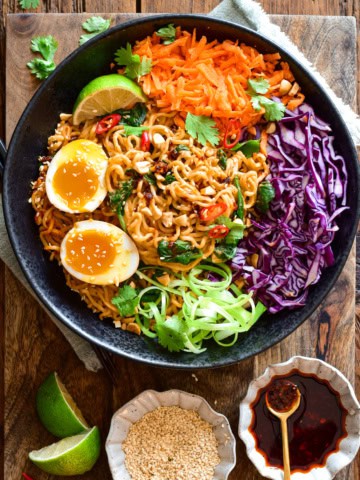
Chili-Crunch Almond Butter Noodles
-
Easy Winter Vegetable Cassoulet with White Beans
-
Winter Root Vegetable Bowls with Lemon Yogurt Dressing
-
Gingerbread French Toast with Apple Cranberry Compote
-
Creamy Sunshine Squash Soup with Gnocchi & Spinach
-
Summer Vegetable Shakshuka with Za’atar & Feta
-
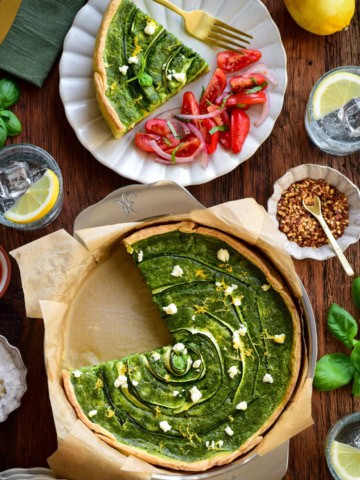
Green Goddess Quiche with Zucchini & Feta
-
Low-Sodium Vegetable Chili (Meal Prep Friendly Recipe)
-
Easy Cajun Fried Corn Recipe 🌽 (Low-Sodium)
-
Crispy Piri-Piri Potato Stacks
-
Vegan Cauliflower Pasta Bake
-
Grilled Peach & Tomato Crostini with Whipped Feta
-
Spicy Vegetable Lasagna
-
Air Fryer Asparagus wrapped in Prosciutto
-
Homemade Four Cheese Ravioli
-
Spring Pea & Asparagus Soup
-
Spanakopita Stuffed Peppers
-
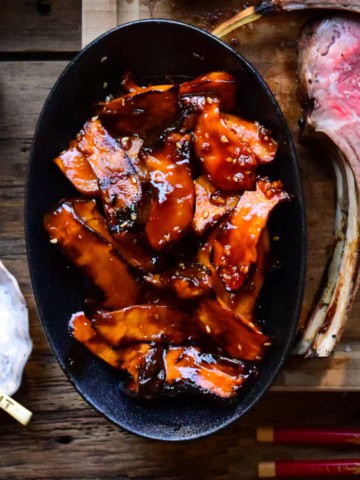
Grilled Gochujang Mushrooms
-
Hasselback Honeynut Squash and Apples (with a Hummus Dressing)
-
Butternut Squash and Ginger Soup
-
Apple Quinoa Bowl
-
Pan Fried Gnocchi with Pesto
-
Sous Vide Beet Salad
-
Buffalo Cauliflower Mac and Cheese
-
Cremini Mushroom Tacos with Kale Slaw
-
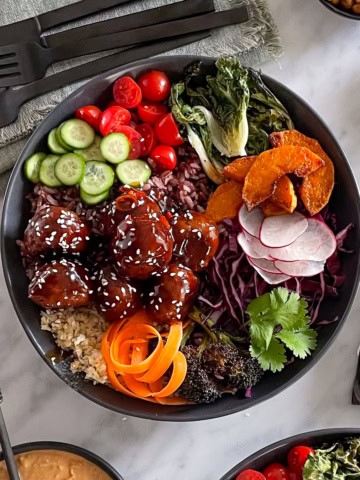
Beyond Meat Thai Meatball Bowl
-
Rustic Vegetable Soup
-
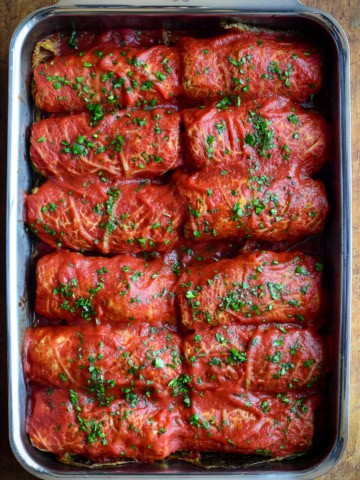
Vegetarian Cabbage Rolls (with a Holiday Inspired Filling)
-
Roasted Garlic Hummus
-
Roasted Cauliflower with Hummus Yogurt Dip
-
Tomato Confit Toast
-
Mediterranean Grilled Mushroom Salad
-
Sous-Vide Carrots with Hummus
-
The United Beyond Burger
-
Dill Pickle Potato Salad
-
Strawberry, Asparagus and Rhubarb Salad
-
Grilled Asparagus Caprese (inspired) Salad
-
Slow Cooker Spring Risotto
-
Stir-Fried Black Rice with Fried Eggs & Parmesan Roasted Broccoli
-
No Bake Shakshuka