Boards & Trays
Turn ordinary meals into extraordinary experiences! From game day appetizer boards to tantalizing trays of tacos, our collection offers inspiration for the perfect spread for any occasion. Whether you’re hosting a casual gathering with friends or planning a festive celebration, our recipes will help you elevate your presentation game and impress your guests with both flavour and style.
-
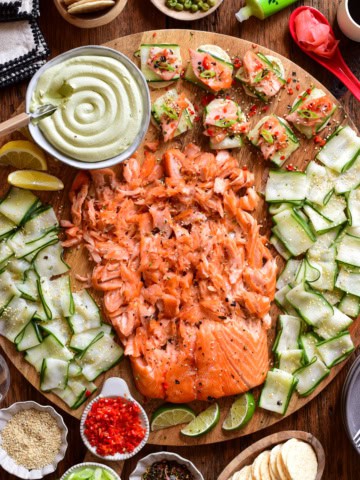
Smoked Salmon Board with Avocado Lime Cream Cheese
-
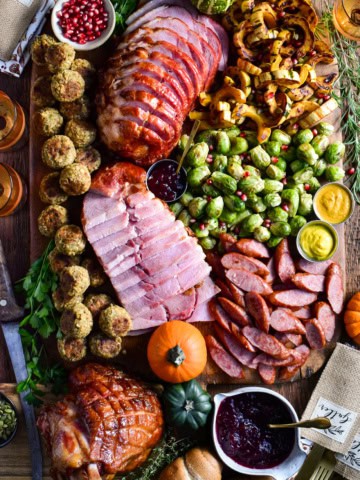
Stress-Free Holiday Ham and Turkey Kolbassa Feast Board
-
Grilled Smokie Pizza Sandwiches
-
Cheese Board Sprinkles
-
Cheesy Bacon & Egg Salad Crispy Tacos
-
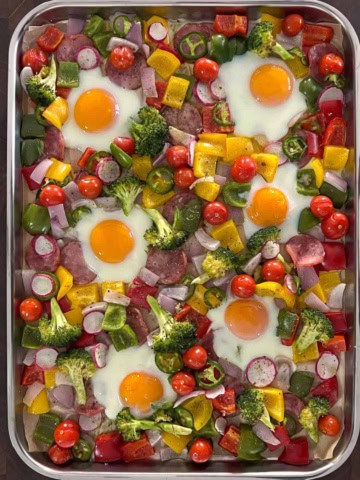
Kielbasa and Eggs Sheet Pan Meal
-
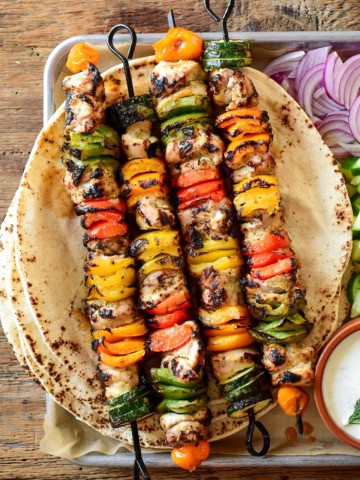
Grilled Chicken Skewers
-
Niçoise Salad with Salmon
-
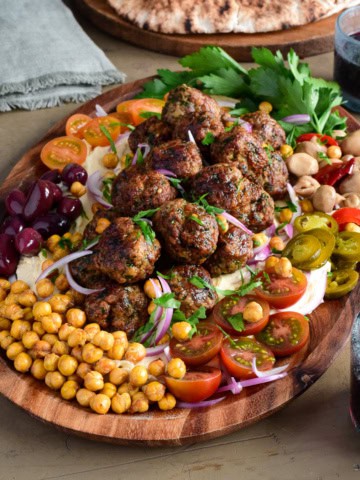
Loaded Hummus with Air Fryer Harissa Sausage Balls
-
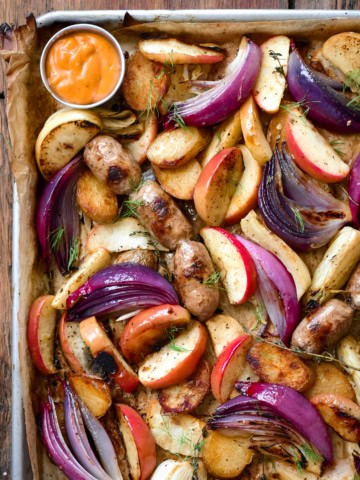
Sheet Pan Apples, Fennel and Hot Sausages
-
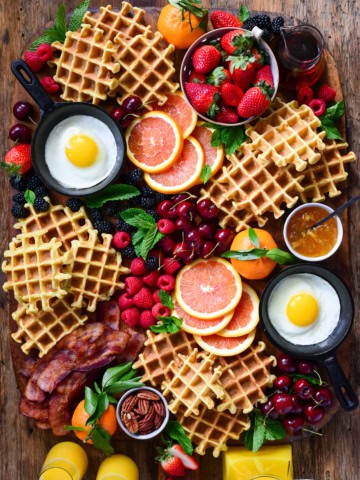
Buttermilk Waffles
-
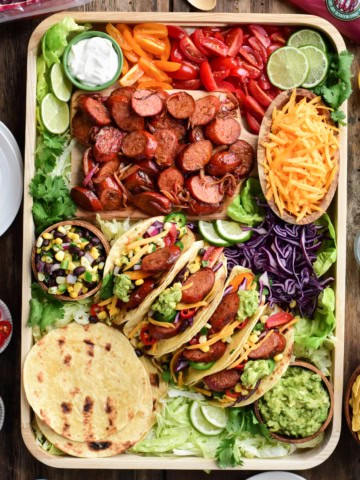
Grimm’s Original Bavarian Smokie Tacos
-
Grilled Ontario Beef Summer Salad with Mustard Vinaigrette
-
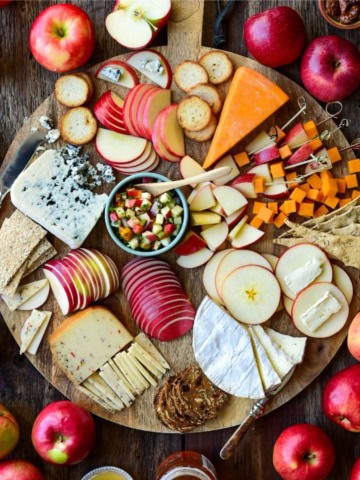
Apple & Cheese Board with Apple Salsa
-
Asian Inspired Roasted Chicken Thighs
-
Game Day (Porch Drop-Off) Board
-
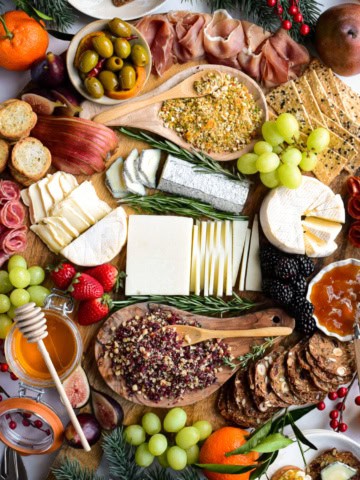
Charcuterie Boards • Perfect for Virtual Gatherings
-
Grilled Mixed Seafood Platter
-
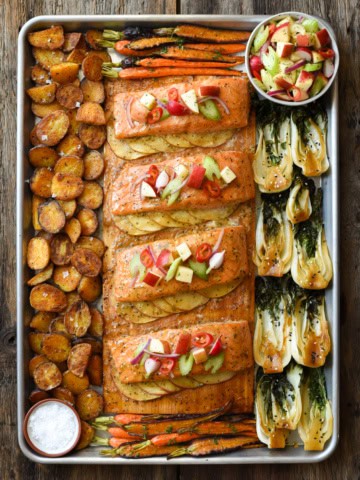
Cedar Planked Salmon with Ontario Ambrosia Apple Salsa
-
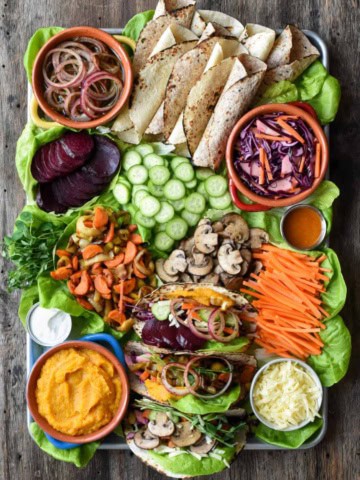
Ontario Winter Produce Tacos
-
Flank Steak Tacos
-
Surf and Turf Platter
-
Grilled Chicken Tortillas with Spicy Guacamole
-
Game Day Appetizer Board
-
Three Easy Dips – Vegetable Grazing Board