Sauces, Marinades & Condiments
Unlock the secrets to elevating your dishes with flavourful sauces, versatile marinades, and tantalizing condiments that add depth and complexity to every bite.
-
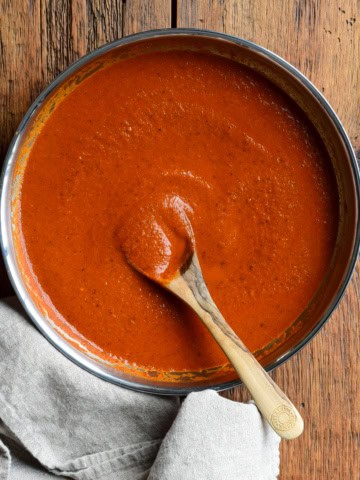
Easy 20-Min Homemade Fire-Roasted Enchilada Sauce
-
Creamy Whipped Feta Tzatziki
-
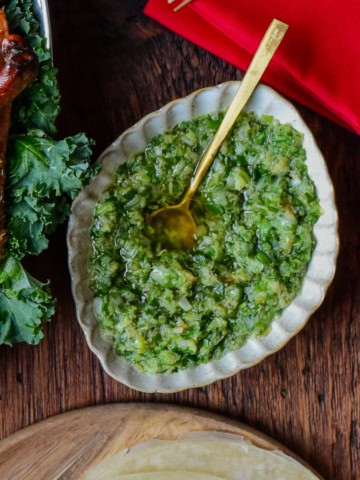
Easy Homemade Ginger Scallion Sauce
-
Easy Teriyaki Grilled Steak & Shrimp
-
Cowboy Butter Steak
-
Strawberry-Ginger Jam
-
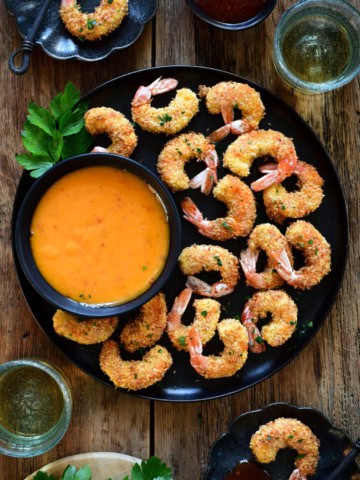
Air Fryer Coconut Shrimp
-
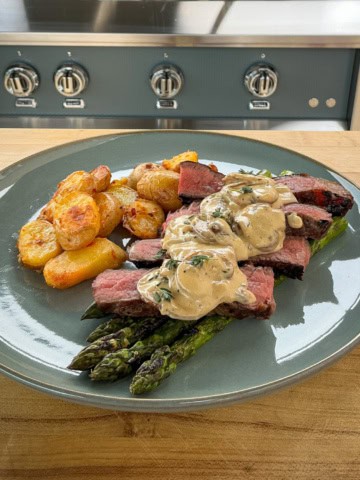
Grilled Steak with Mushroom Sauce
-
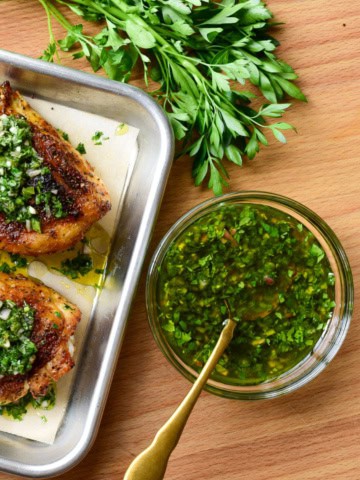
Quick Chimichurri Recipe
-
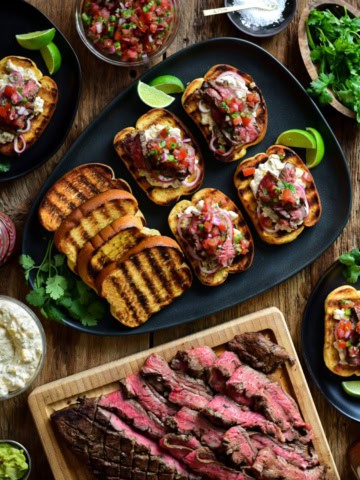
Flank Steak with Street Corn Mayo on Garlic Toast
-
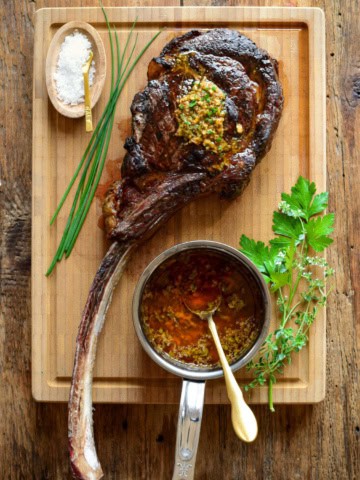
Grilled T-Bone Steak with Peppercorn Board Sauce
-
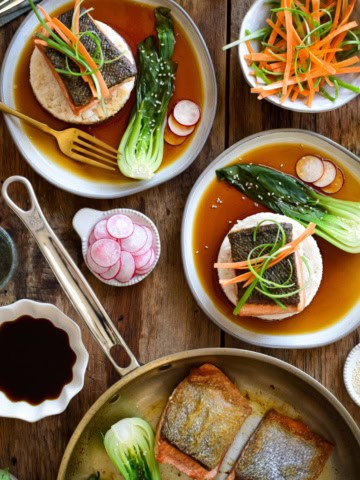
Salmon with Ponzu Sauce
-
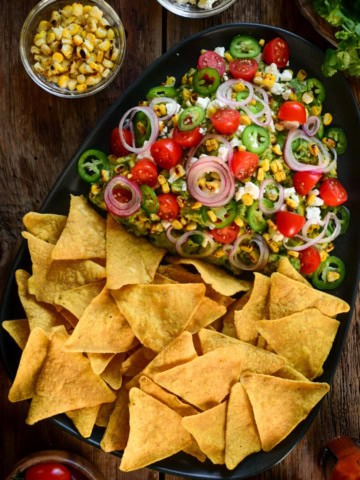
Guacamole with Grilled Corn
-
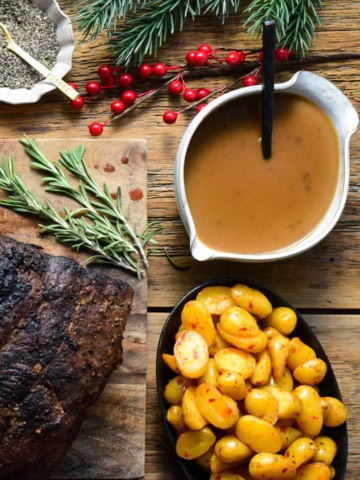
Homemade Beef Broth Gravy
-
Easy Ginger Dressing
-
Grilled Ribeye Steaks with Asian-Inspired Sauce
-
Spanish Style Steak
-
Easy Recipe for Pico de Gallo
-
Florentine-Style Steak
-
Spicy Chicken Club Sandwich
-
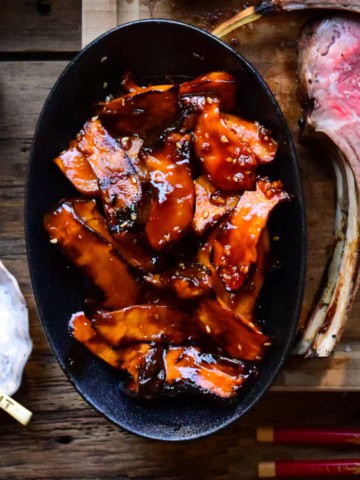
Grilled Gochujang Mushrooms
-
Make Ahead Beef Gravy – No Drippings
-
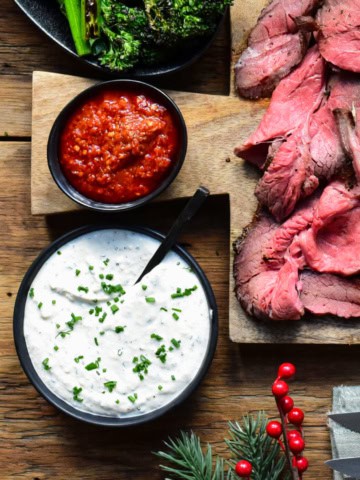
Quick Horseradish Cream Sauce
-
Tequila-Lime BBQ Ribs
-
Spicy Maple Pork Tenderloins
-
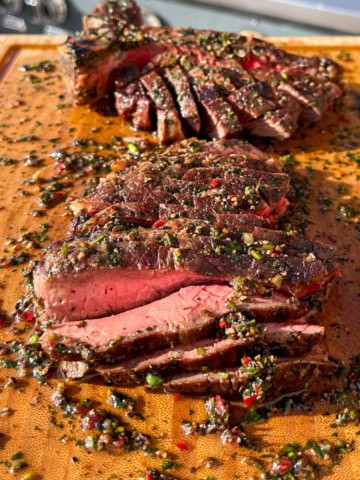
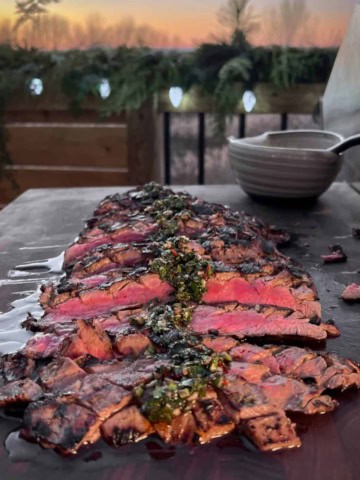
Grilled Flank Steak with Herb Sauce
-
Concord Grape Jam No Pectin with Jalapeño
-
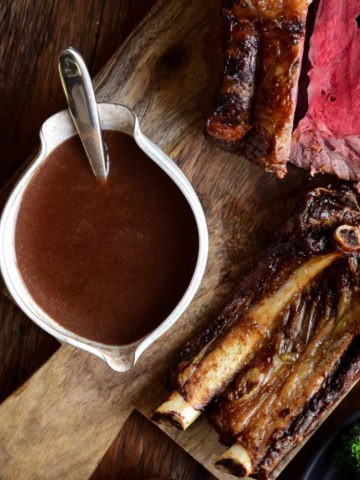
Beef Ribs with Salsa Verde
-
Thai Red Curry Beef Kabobs
-
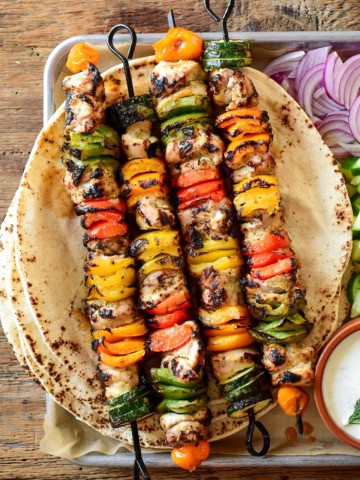
Grilled Chicken Skewers
-
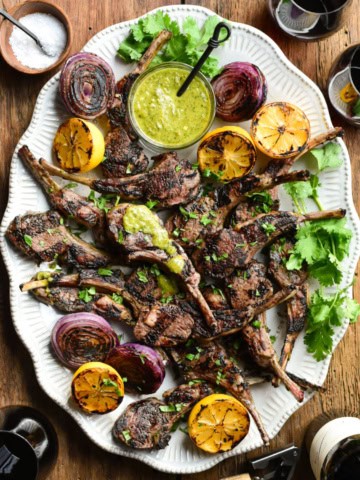
Charred Green Onion-Jalapeno-Lemon Lamb Chops
-
Mushroom Marsala Sauce – No Cream
-
Pork Chops in a Marsala Mushroom Sauce
-
Eggs Benedict on Potato Pancakes
-
Sweet & Sour Pork, with Pineapple Stir-Fry
-
Green Goddess Dressing
-
Sweet and Spicy Grilled Shrimp Skewers
-
Red Thai Curry Peanut Sauce and Vegetables
-
Grilled Ontario Beef Summer Salad with Mustard Vinaigrette
-
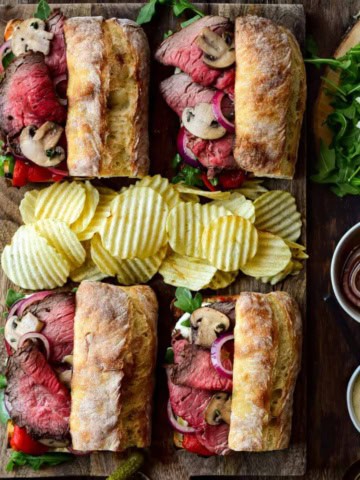
The Ultimate Roast Beef Sandwich