Pork
Indulge in the savoury world of pork with our recipe category, featuring everything from juicy roasts to flavourful ribs, offering culinary inspiration for every occasion and palate.
-
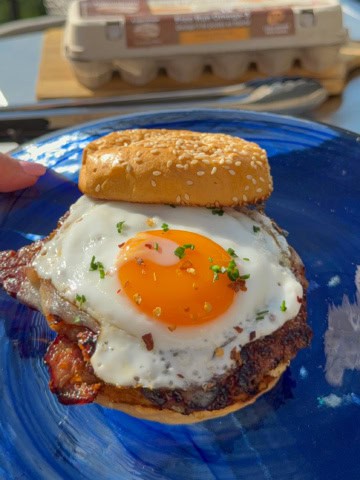
Sausage and Egg Breakfast Smash Burger
-
Italian Sausage & Peppers Breakfast Hash on the Griddle
-
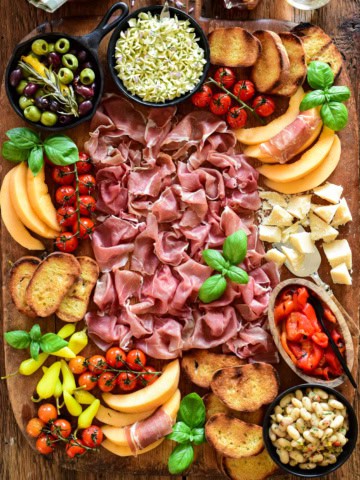
Prosciutto di Parma Antipasto Butter Board
-
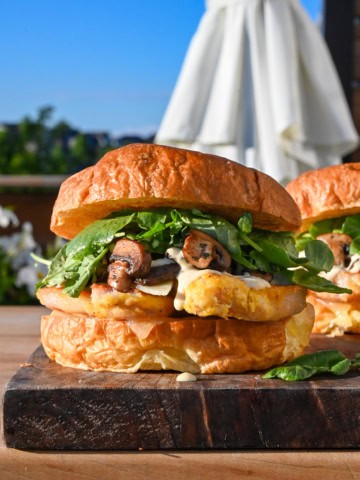
Steakhouse Peameal Bacon Sandwich with Mushrooms
-
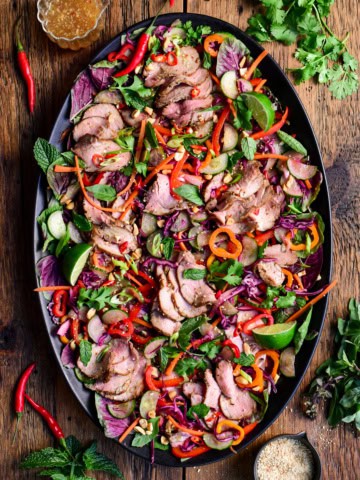
Spicy Thai Pork Tenderloin Crunchy Herb Salad
-
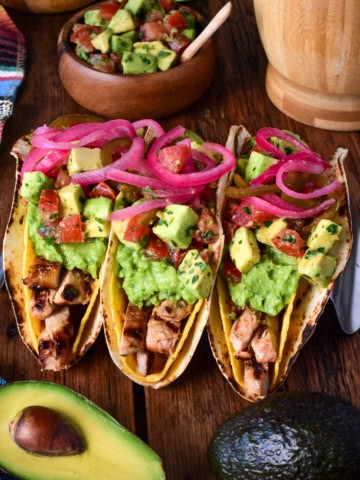
Crispy Pork Smash Tacos with Avocado Lime Crema
-
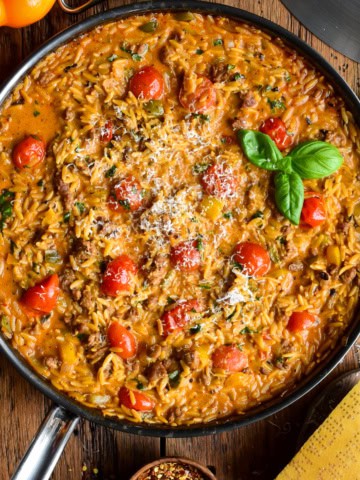
Creamy Sausage, Pepper & Tomato Orzo Skillet
-
Chili-Lime Pork Chops with Grilled Pineapple
-
Crispy Cornmeal Waffles with Ham and Cheddar
-
Greek Lemon Oregano Pork Roast with Fingerling Potatoes
-
Citrus Marinated Grilled Pork (Poc Chuc) Double Decker Tacos
-
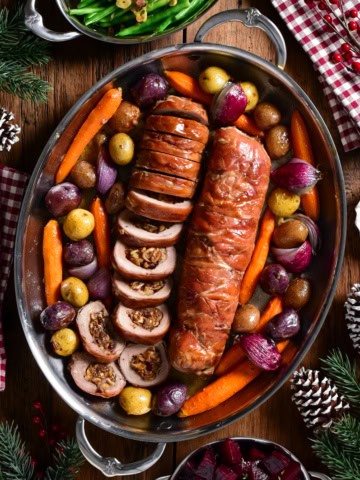
Prosciutto Wrapped Pork Tenderloin Stuffed with Figs & Brie
-
Cider Braised Cabbage with Ham Bone and Apples
-
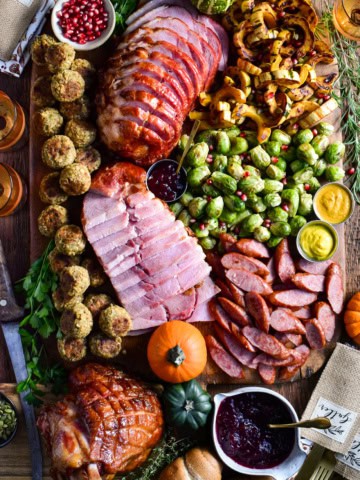
Stress-Free Holiday Ham and Turkey Kolbassa Feast Board
-
Caribbean Baked Beans with Jerk-Spiced Pork Shoulder
-
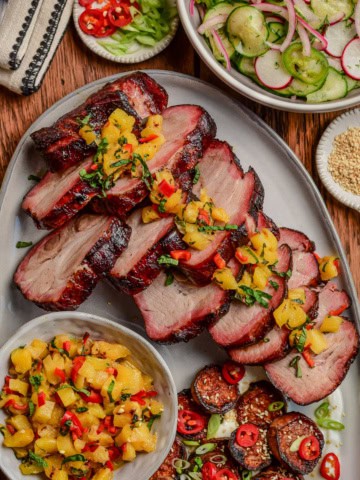
Smoked Char Siu Pork Collar with Grilled Pineapple Relish
-
Reverse Seared Cuban Mojo Pork Chops with Citrus Glaze
-
Chinese Five-Spice Sticky Wild Boar Rib Racks
-
Maple Glazed Rack of Pork Roast
-
Sticky Plum Glazed Festive Ham
-
Grilled Honey Mustard Pork Tenderloin
-
Grilled Smokie Pizza Sandwiches
-
Pork, Fennel and Apple Sausage Rolls
-
Lasagna with Bacon and Sausage
-
Chili Cheese Nachos with Spicy Sausage
-
Shanghai-Style Braised Pork Belly
-
French Onion Stuffed Pork Chops
-
Rotisserie Honey Garlic Pork Roast
-
Ham Wellington
-
Barbeque Baby Back Ribs
-
Ham Garlic Sausage with Pineapple Salsa Sliders
-
Tequila-Lime BBQ Ribs
-
Sous-vide Pork Tenderloin with Strawberry-Balsamic Sauce
-
Grilled Pork Chops with Honey Mustard Sauce
-
Minneola Glazed Spiral Ham
-
Sous Vide Pulled Pork Sliders
-
Air Fryer Pigs in a Blanket
-
Spicy Maple Pork Tenderloins
-
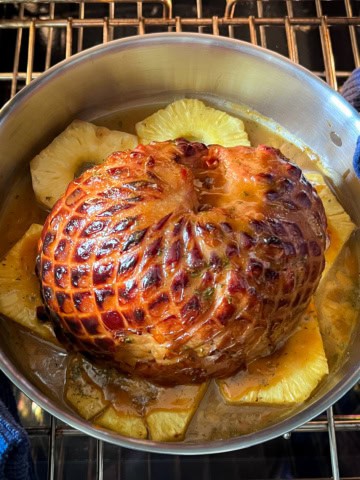
Hot Honey & Apple Cider Glazed Ham
-
Rotisserie Jerk Pork