Holiday Entertaining
From festive appetizers and decadent mains to indulgent desserts, our recipes will inspire you to create unforgettable moments with family and friends during the most wonderful time of the year. Join us as we share tips, tricks, and culinary inspiration to help you spread joy and cheer throughout the holiday season.
-
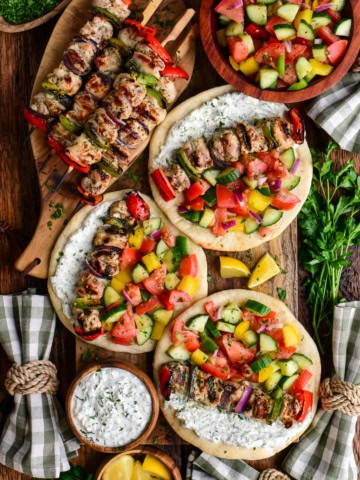
Loaded Chicken Souvlaki Pitas with Greenhouse Salad
-
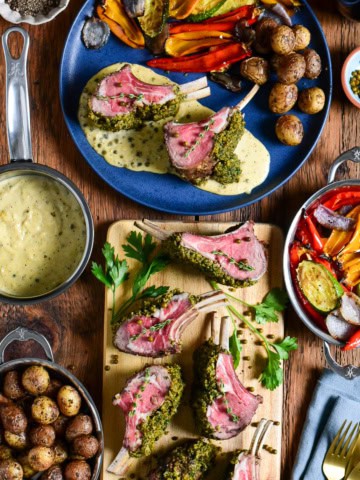
Herb-Crusted Rack of Lamb with Green Peppercorn Cream
-
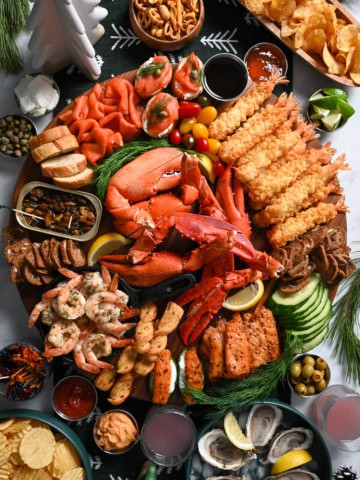
SeaCuterie Board (Seafood Charcuterie Board)
-
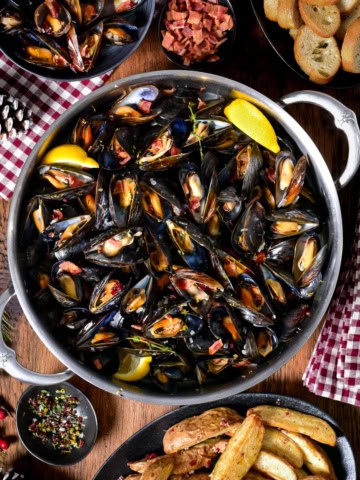
PEI Mussels in Cider Broth with Bacon and Cranberry Salt
-
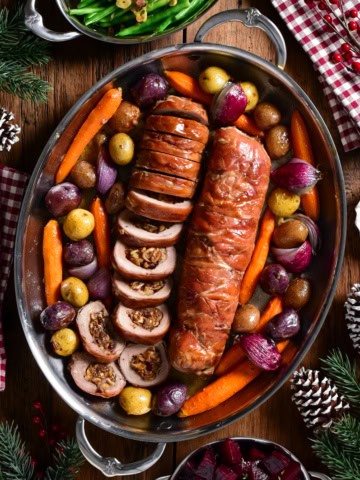
Prosciutto Wrapped Pork Tenderloin Stuffed with Figs & Brie
-
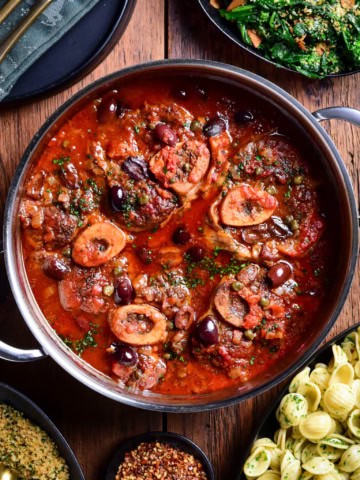
Slow-Braised Veal Osso Buco alla Puttanesca
-
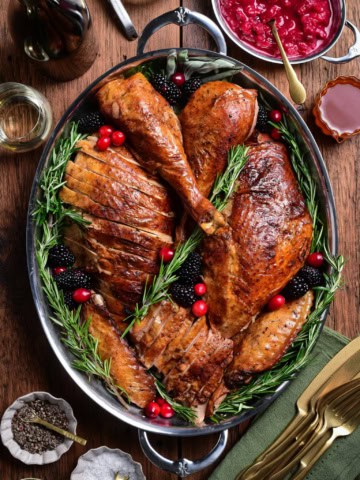
Easy Tuscan Turkey with Pan Sauce | Dairy Free, Gluten Free
-
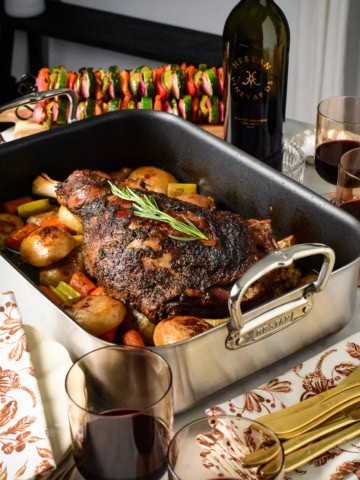
Slow Roasted Greek Lamb Shoulder with Roasting Pan Potatoes
-
Gochujang Honey Glazed Leg of Lamb
-
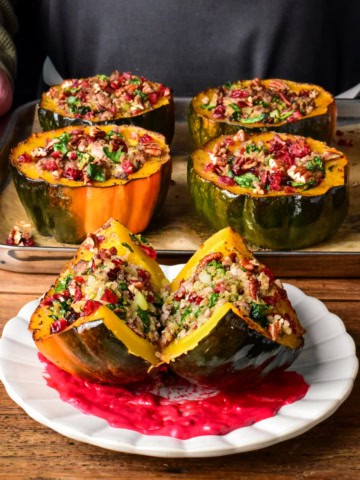
Turkey Quinoa Stuffed Acorn Squash with Cranberries & Pecans
-
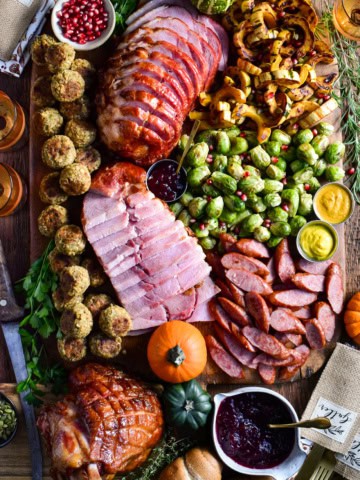
Stress-Free Holiday Ham and Turkey Kolbassa Feast Board
-
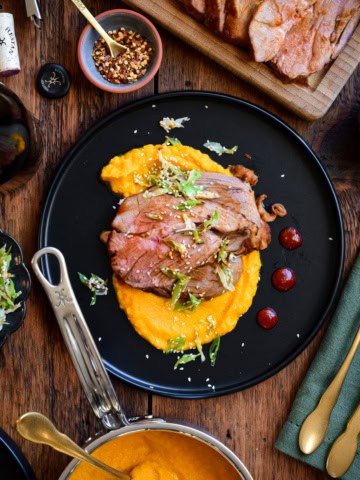
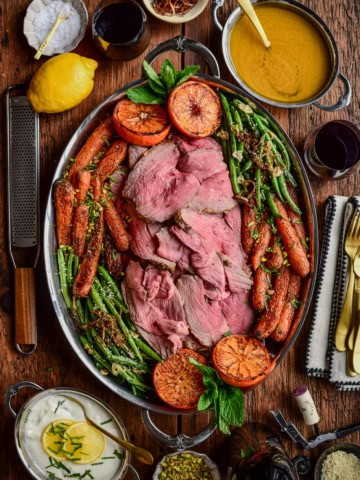
Charred Citrus & Turmeric Yogurt Marinated Lamb
-
Guinness Mac and Cheese – With Irish Whiskey Onions
-
Slow-Cooked Beef Bourguignon in Dutch Oven
-
Crispy Roasted Duck (Peking-Style)
-
Salmon en Croute with Leeks
-
Crispy Piri-Piri Potato Stacks
-
Bacon-Wrapped Stuffed Turkey Breast
-
Sticky Plum Glazed Festive Ham
-
Individual Turkey Meatloaves
-
Gingerbread Cookies with Royal Icing
-
Slow-Roasted Bone-In Prime Rib
-
Mexican Macaroni Salad
-
Roasted Turkey with Adobo Sauce
-
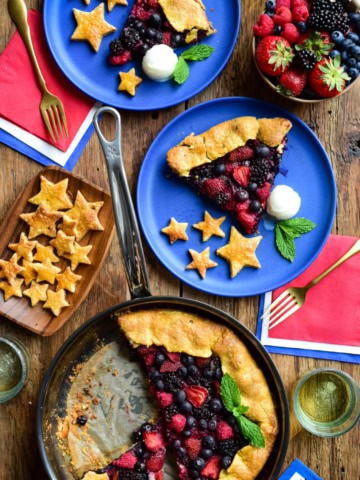
Grilled Mixed Berry Galette
-
Rotisserie Prime Rib Roast
-
Herb Stuffed Boneless Leg of Lamb with Fresh Mint Sauce
-
Mini Egg Millionaire’s Shortbread Bars
-
Slow Cooked Lamb Shanks in Tomato Sauce
-
Butternut Squash Lasagna Roll Ups
-
Spatchcock Turkey with Herb Butter
-
Ham Wellington
-
Blackened Salmon Sliders with Rainbow Slaw
-
Risotto with Lobster
-
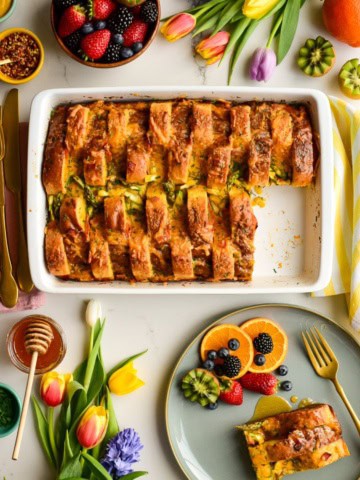
Savoury French Toast Casserole
-
Rotisserie Boneless Leg of Lamb (Garlic, Herb, & Citrus)
-
Minneola Glazed Spiral Ham
-
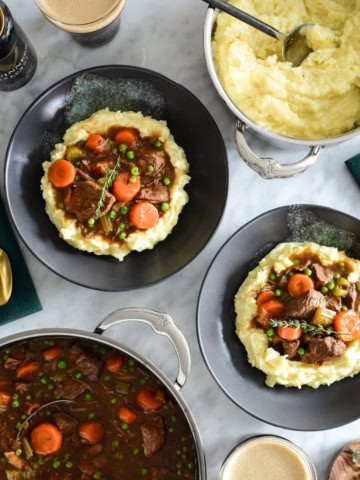
Guinness and Beef Stew
-
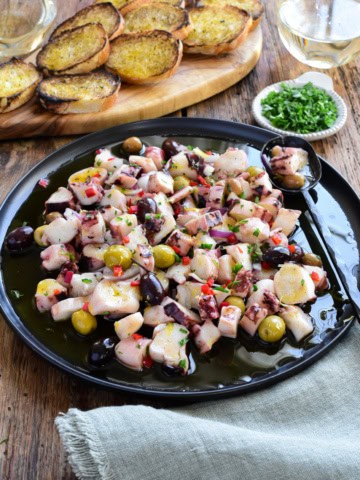
Marinated Squid Salad
-
Roasted Crown Rack of Lamb