Breads & Pastries
Skillet Flatbread
Skillet Flatbread | Bratwurst Sausage and Feta Phyllo Pie. In addition to these recipes, you can find more of my favourite breads and pastries here.
-
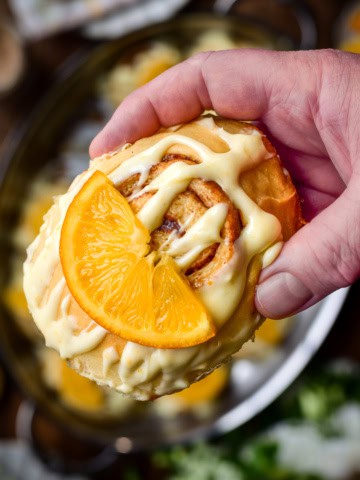
Baked Cinnamon Rolls with Orange Cream Cheese Glaze
-
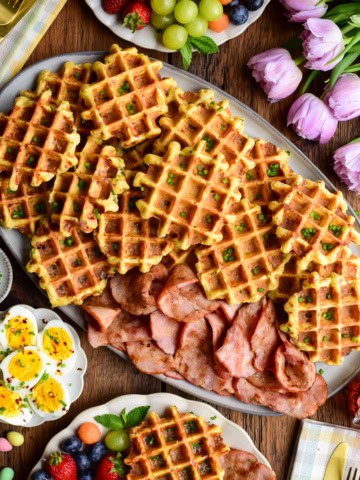
Crispy Cornmeal Waffles with Ham and Cheddar
-
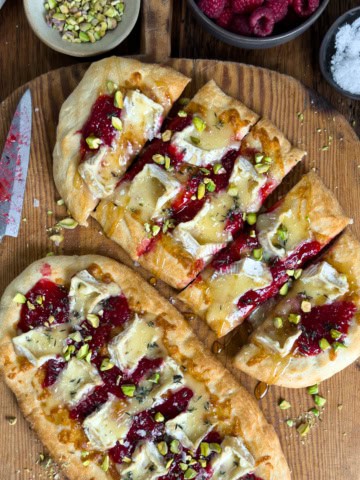
Flatbread Appetizers with Camembert & Raspberry Prosecco Jam
-
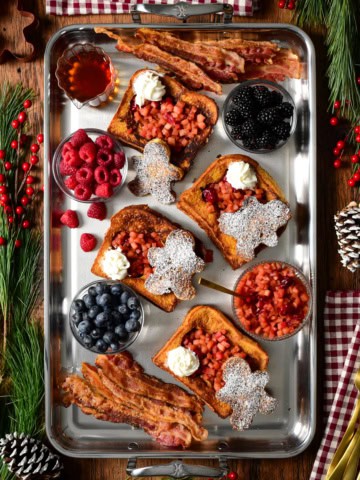
Gingerbread French Toast with Apple Cranberry Compote
-
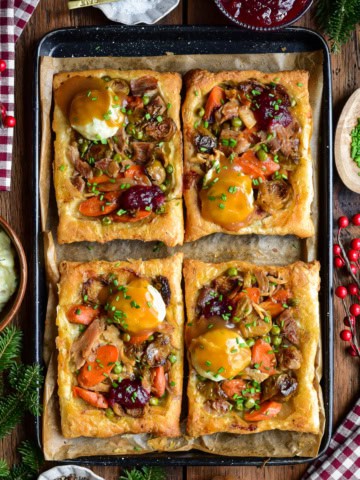
Upside Down Puff Pastry Tarts with Turkey Leftovers
-
Easy Sheet Pan Pizza (with Pepperoni)
-
Orange Cardamom Buns
-
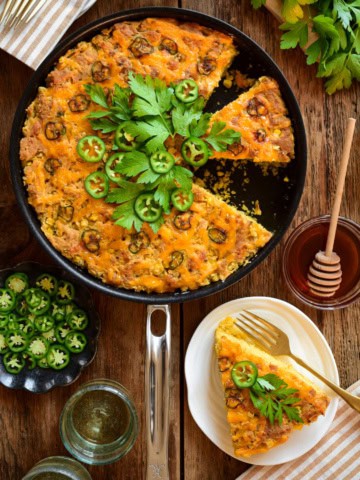
Grilled Jalapeño Cheddar Cornbread
-
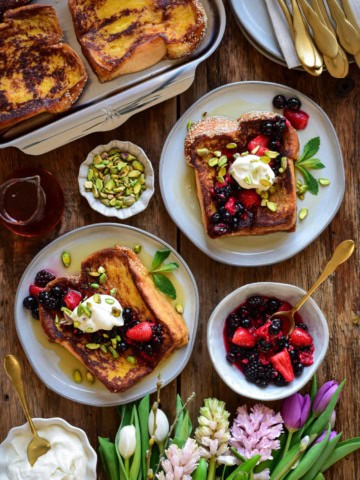
Challah French Toast with Mascarpone and Berries
-
Lasagna Stuffed Garlic Bread
-
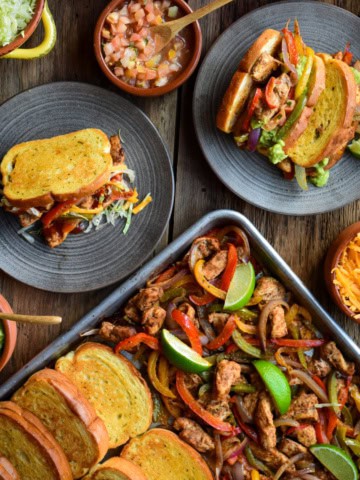
Sheet Pan Fajitas with Garlic Texas Toast
-
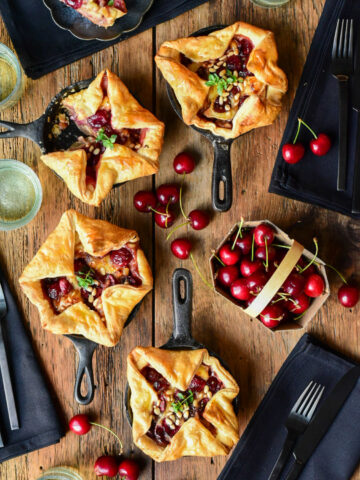
Savoury Cherry Puff Pastry Tarts
-
Savoury French Toast Casserole
-
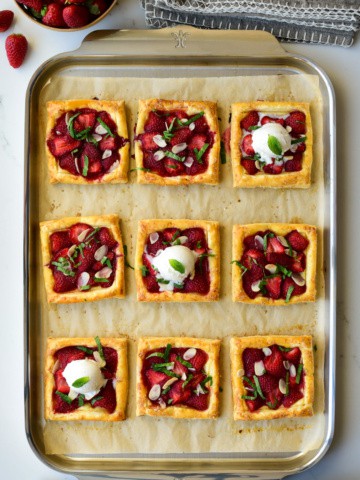
Puff Pastry Strawberry Tarts
-
Sweet Potato, Beet, Zucchini Puff Pastry Tart
-
Savoury Bread Pudding with Apples & Kale
-
Savoury Apple-Brie Hand Pies
-
Sourdough Toasts
-
Beer Braised Onion & Steak Galette
-
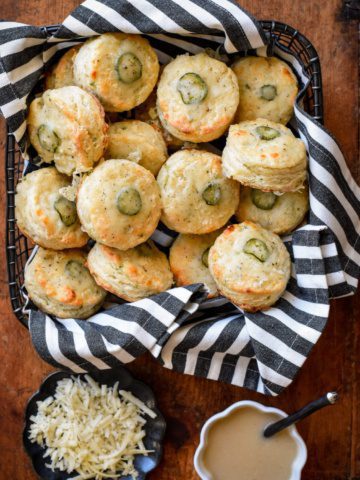
Herbs & Garlic Cheese Jalapeño Biscuits
-
Ontario Pear & Prosciutto Naan-Pizza
-
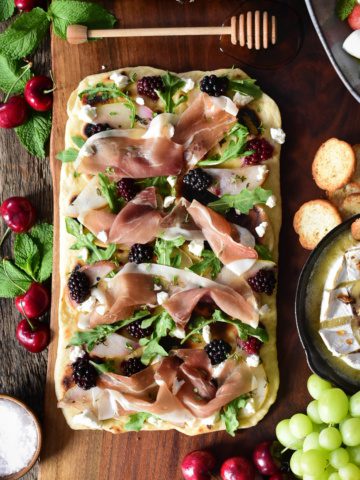
Flatbread with Prosciutto, Poached Pears & Blackberries
-
Skillet Flatbread
-
Sausage and Feta Phyllo Pie