Salads, Sides & Dips
Elevate every meal with vibrant salads, tantalizing sides, and irresistible dips that add a burst of flavour and freshness to your table.
-
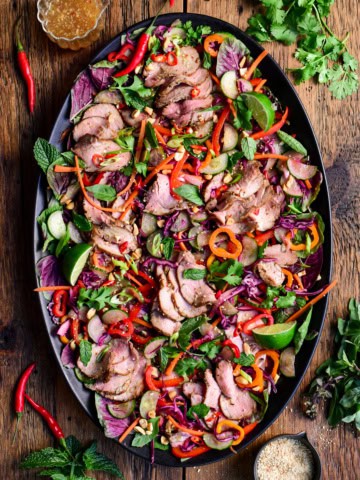
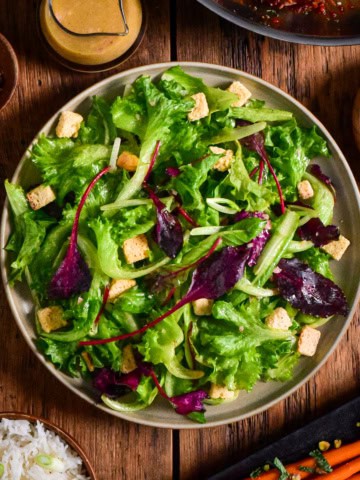
Spicy Thai Pork Tenderloin Crunchy Herb Salad
-
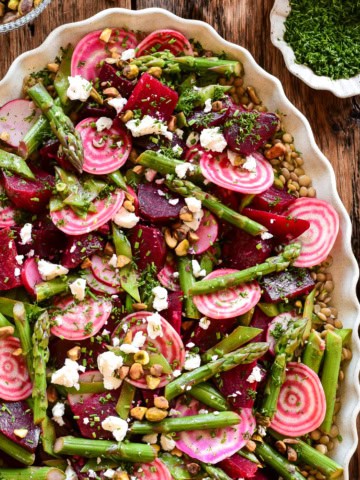
Beet, Asparagus and Lentil Salad with Feta
-
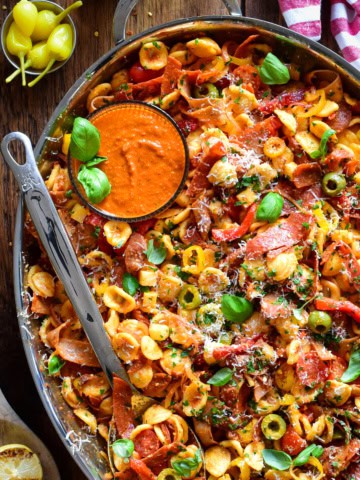
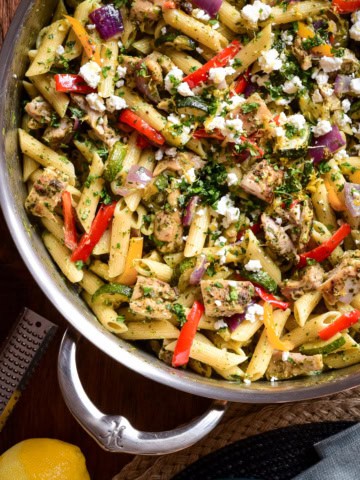
Spicy Chopped Italian Romesco Pasta Salad with Crispy Meats
-
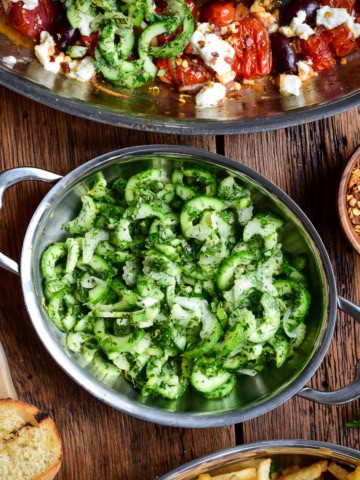
Crunchy Cucumber Celery Slaw with Herb Dressing
-
20+ Mexican Themed Dishes for Your Next Fiesta
-
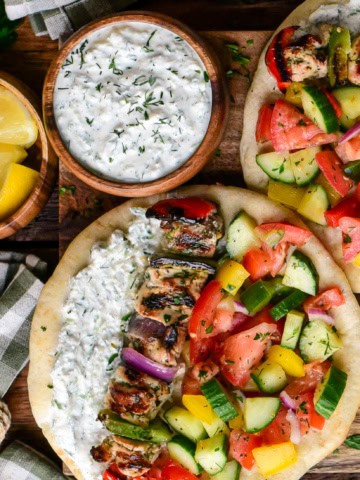
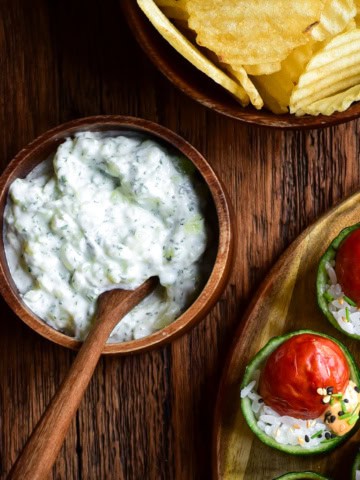
Creamy Whipped Feta Tzatziki
-
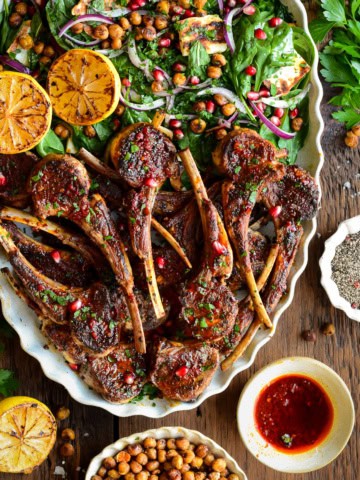
Harissa Lamb Chops with Crispy Chickpea & Halloumi Salad
-
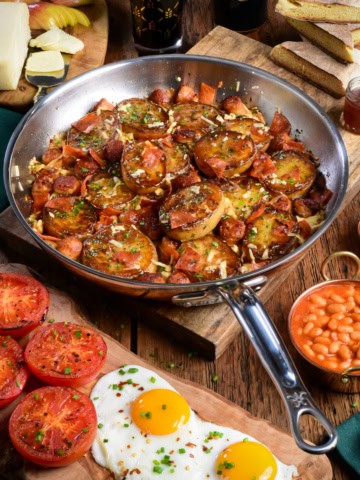
Crispy Irish Pub Potato Skillet with Sausage & Bacon
-
Crisp Celery Apple Salad with Lemon-Parsley Vinaigrette
-
Smashed Baby Potatoes with Lemon and Olive Oil
-
Easy Griddled Peppers and Onions with Olives and Feta
-
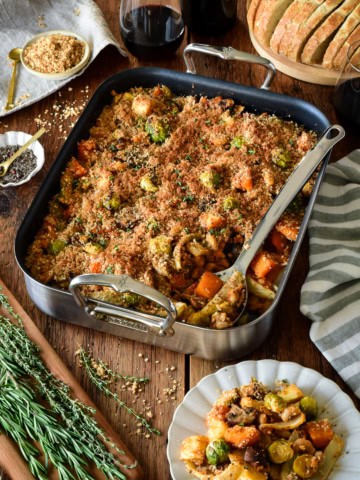
Easy Winter Vegetable Cassoulet with White Beans
-
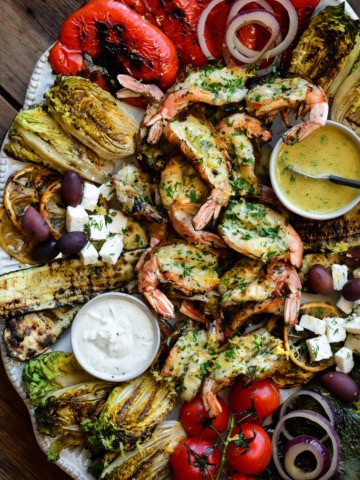
Butterflied Grilled Shrimp Salad with Lemon-Dijon Dressing
-
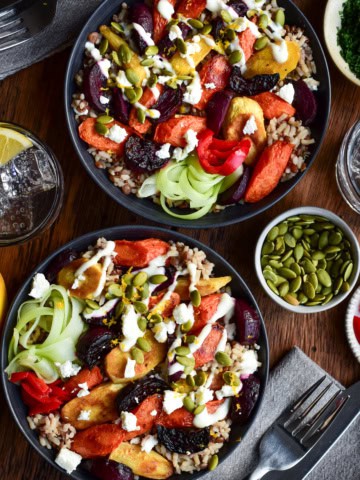
Winter Root Vegetable Bowls with Lemon Yogurt Dressing
-
Cardamom-Vanilla Honeynut Squash Brulee with Maple Drizzle
-
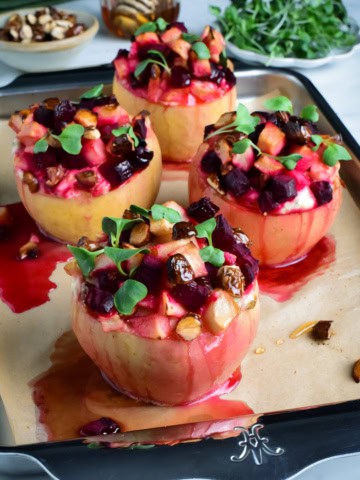
Savory Stuffed Baked Apples with Ricotta, Beets & Honey
-
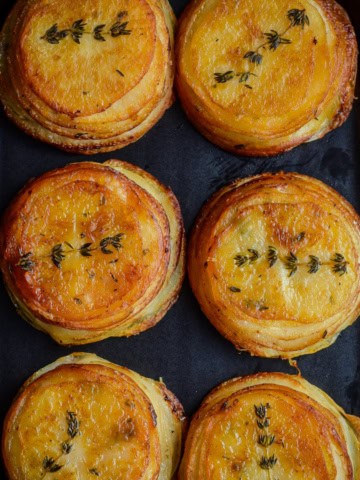
Lemon–Dill Potato Stacks with Greek Yogurt & Capers
-
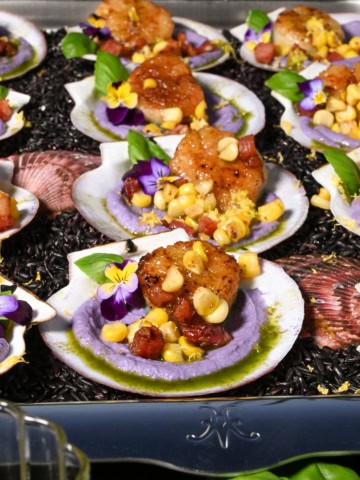
Pan Seared Scallops with Cauliflower Puree
-
Simple Green Salad with Shallot Vinaigrette
-
Zhoug Chicken Pasta Salad with Roasted Vegetables
-
Charred Corn, Poblano and Jalapeño Dip (Grill or Oven)
-
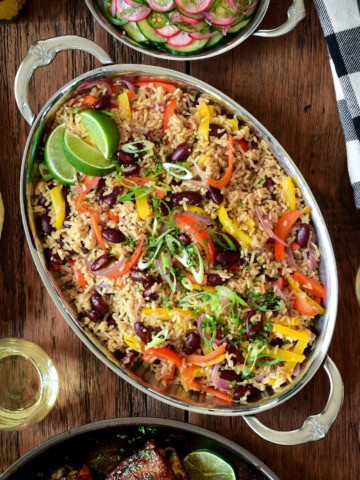
Island-Inspired Rice with Red Kidney Beans and Peppers
-
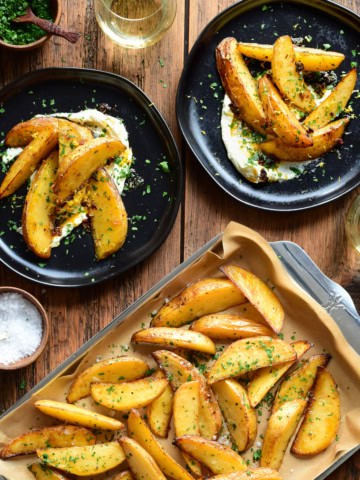
Greek-Style Lemon Potato Wedges with Whipped Feta
-
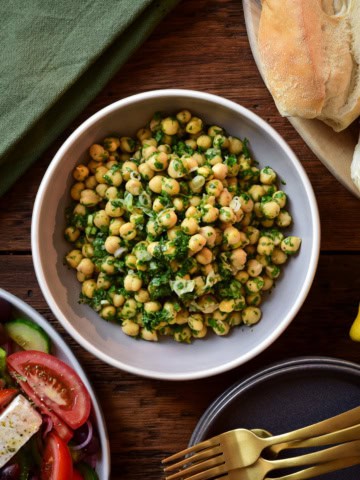
Chickpea Parsley Salad with Lemon and Olive Oil
-
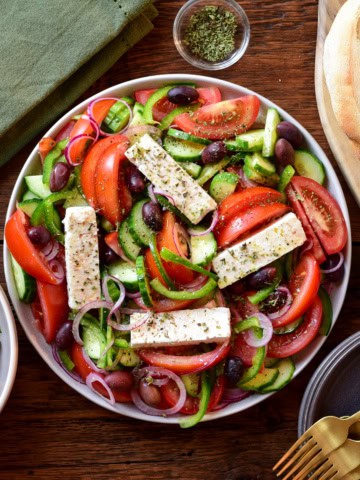
Greek Village Salad (Horiatiki Salata)
-
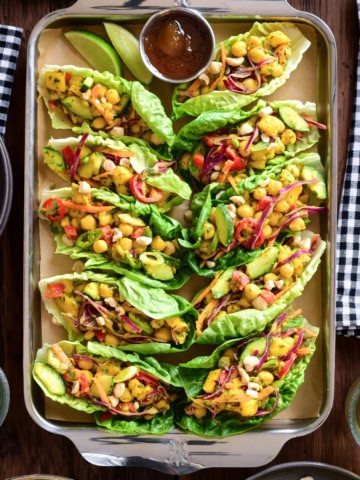
Curried Coconut Chickpea and Mango Salad (Vegan & Picnic-Ready)
-
Cold Soba Noodle Salad with Sesame Ginger Dressing
-
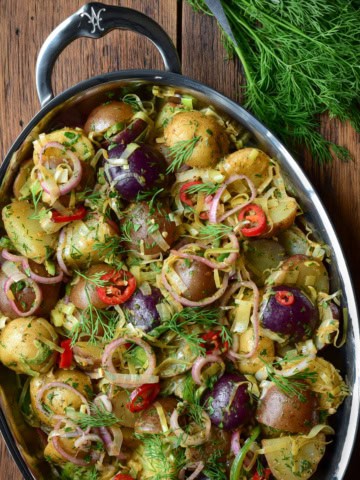
Brown Butter Potato Salad with Leeks & Pickled Shallots
-
Easy Cucumber Mint Yogurt Dip (Zero Waste Recipe)
-
Charred Corn & Salmon Salad with Lemon–Honey Dressing
-
Warm Rainbow Veggie Salad with Fresh Summer Pesto
-
Crispy Smashed Potato Tostadas with Chicken
-
Spiced Honey-Roasted Carrots with Orange & Pistachios
-
Garlicky Blistered Green Beans with Yogurt & Crispy Shallots
-
Easy Cajun Fried Corn Recipe 🌽 (Low-Sodium)
-
Baked Jalapeno Popper Dip (Easy Game Day Dip)
-
Crispy Piri-Piri Potato Stacks
-
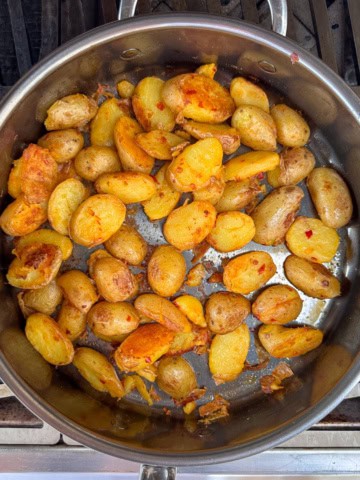
Bomba Potatoes
-
Roasted Delicata Squash & Cauliflower
-
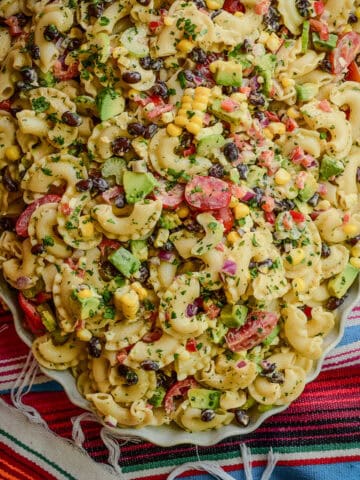
Mexican Macaroni Salad