Skip to primary navigation
Skip to main content
Skip to primary sidebar
Home
Recipes
About Us
Contact Us
Zimmy’s Blog
Services
Search
menu icon
Home
Recipes
About Us
Contact Us
Zimmy’s Blog
Services
Facebook
Instagram
Pinterest
TikTok
Twitter
YouTube
search icon
Search
Home
Recipes
About Us
Contact Us
Zimmy’s Blog
Services
Facebook
Instagram
Pinterest
TikTok
Twitter
YouTube
×
Home
ooni pizza oven
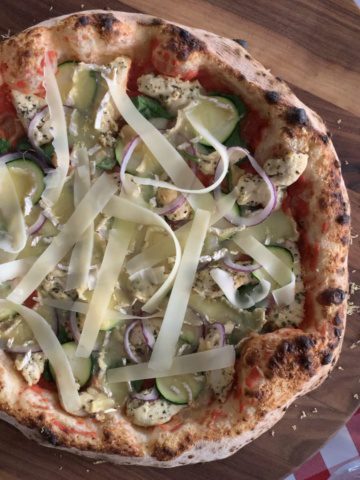
Lemon-Rosemary Chicken Pizza
Wood-Fired Turkey Breasts with Ginger-Jalapeño-Cranberry Sauce
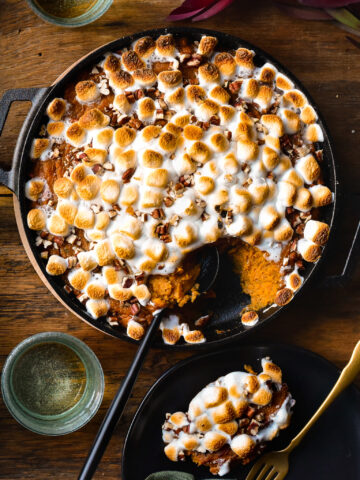
Wood-Fired Sweet Potato Casserole
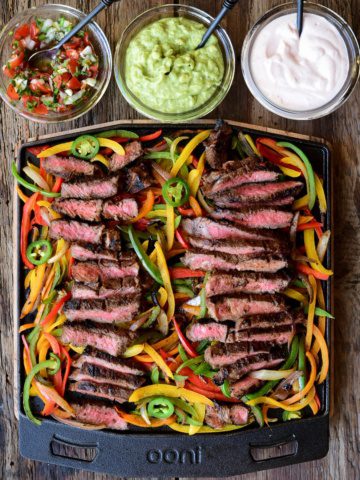
Sizzling Steak Fajitas
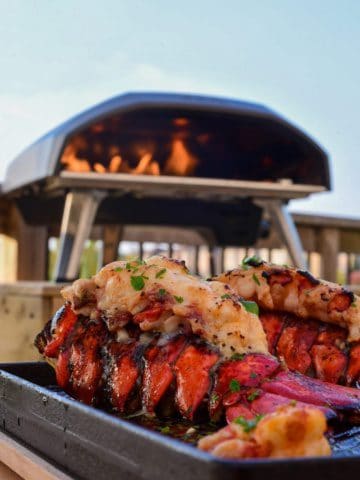
Cast Iron Lobster Tails & Wild Shrimp