Skip to primary navigation
Skip to main content
Skip to primary sidebar
Home
Recipes
About Us
Contact Us
Zimmy’s Blog
Services
Search
menu icon
Home
Recipes
About Us
Contact Us
Zimmy’s Blog
Services
Facebook
Instagram
Pinterest
TikTok
Twitter
YouTube
search icon
Search
Home
Recipes
About Us
Contact Us
Zimmy’s Blog
Services
Facebook
Instagram
Pinterest
TikTok
Twitter
YouTube
×
Home
Holiday Dinner
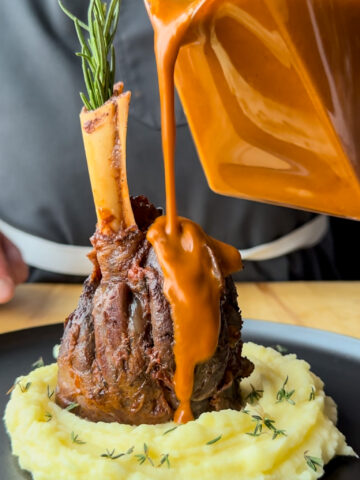
Slow Cooked Lamb Shanks in Tomato Sauce
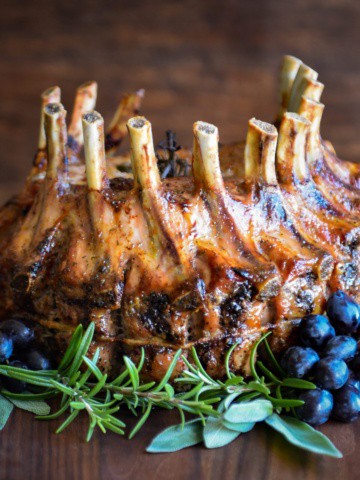
Roasted Crown Rack of Lamb
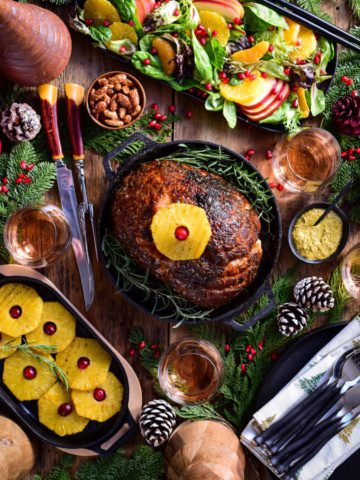
Wood-Fired Baked Ham with Brown Sugar Glaze
Grilled Crown Roast of Pork